I love to discover make-up artists that inspire me daily and Kirsty MacDonald- A freelance Make-up artist from Dublin always inspires me with her creative flair producing daring make-up looks on herself and models. Kirsty also creates hand-made head pieces and more into her make-up designs!
I also love to see her stunning beauty make-up she creates on her clients too.
"I studied at one of the best academies in Ireland 'Vanity X' makeup Academy where I completed my Makeup artistry and theatrical/media course."
At the moment I am mostly looking for editorial parts when I am not making up my beautiful clients. I am also just starting to look for full time work as I am now in a position to do so.
I usually take my inspiration from going onto pinterest and typing in random words and looking at objects, this can be things like trees, jewelry ect, I go to bed and then from those objects ideas pop into my head (usually very annoying as I have to go to my notepad a million times a night) I'm big on nature and I like to think I have an obscure edge to my designs lately, although I feel my style is developing all the time. I use this quote from an Edgar Allen Poe poem to inspire me in all that I do 'All that we see or seem is but a dream within a dream'.

I was very excited to ask Kirsty to create an exclusive tutorial to inspire all our followers to create something elaborate for this Halloween coming up, so if you're planning an elaborate Halloween costume or looking for a last-minute idea, consider using Kirsty's tutorial to your fright night festivities. So embrace your inner zombie or scary character for the Halloween, thanks to face paint and a little creativity from Kirsty by following this step by step tutorial...
Face
1. I Applied a relatively light foundation, this
look works better a bit on the paler side. I used a Rimmer colour match
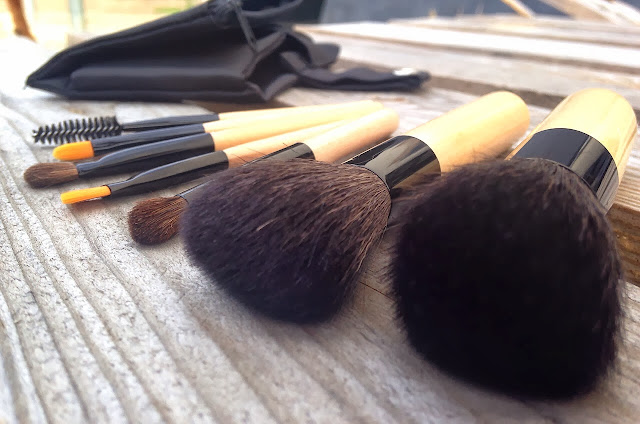
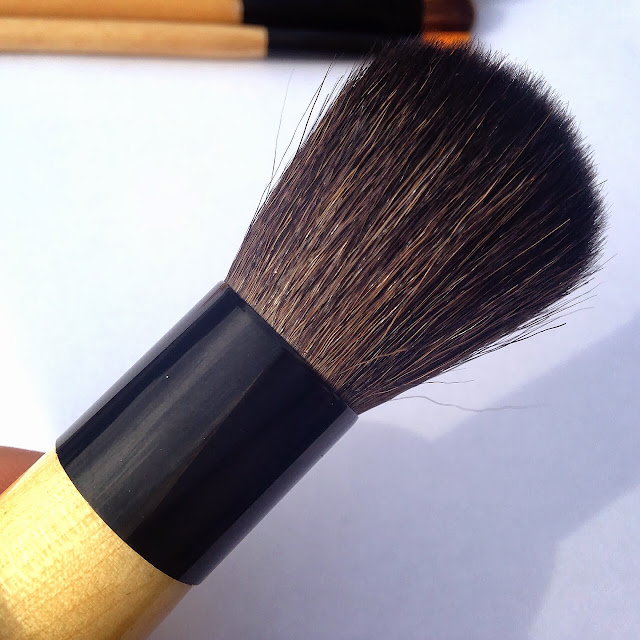
foundation in Ivory and applied it with my favorite crown brush SS014 deluxe
flat bronzer, this brush works amazingly with foundation. I then went on to
apply my under eye concealer in which I used a Catrice pen in Ivory and set
this with Makeup for ever HD powder. Finally I went on to darken and strengthen
the eyebrows, I used Illamasqua brow cake, then added a darker shade with a
touch of black gel liner for texture. Applied with an angled brush.The brows
should look very structured and bold.
2. Next I used a CB (crown brush) mini duo-fiber
brush to apply the burgundy colour from my 'smoke it out' palette also from CB
to the eyes just around the sockets. I Then used a fluffy blending brush to
blend it out on the edges. This can be extended to the temples if chosen.
3. I then used my SS012 Deluxe crease brush to
apply a black shadow to the inner bridge bone of the eye and blended slightly
inwards, I used 'black' from my ben nye palette.
4. Again I used the above brush and shadow to
strengthen the inner bride bone shadow but also added the black shadow to the
outer corner of the eye. To work this colour needs to be strong and striking,
It needs to be blended but not so much it takes the intensity away.
5. I next created speckles with Illamasqua
precision Ink in Absyss which is a dark aubergeine colour. I extended the outer
eye's shadow using the speckles and also added them to the inner bridge. (don't
forget to add mascara)
6. I added a crazy head piece, I made this one
myself from paper mache, card, woodland twigs, wooly piping and a resin bird
scull (don't worry no animal cruelty here) I styled my hair with victory rolls
and curls done using a regular barrel curler.
Neck
7. I applied the same foundation I used for my
face to my neck and chest this time using a SS007 Deluxe Jumbo foundation crown
brush. Using the same brush I applied Illamasqua skin base in 001 to the
inner part of my neck and chest and blended out slightly. I then added bits of
coco brown from my ben nye shadow pallet into random areas and blended. (none
of this has to look neat, it should be random)
8. I applied a line of black Kryolan Aqua
colour to my jaw line.
9. I next Applied more of the Kryolan Aqua
colour under the jaw line but carried the colour on further down, aqua colour
is tough to blend so I used the black and coco shadows as a helping hand to blend
out the edge, still using the Jumbo foundation brush.
10. I then cut up ten lengths of black thread,
long enough to go around my neck. I poured spirit gum into a palette and draped
the string through until the whole of the string was covered in the spirit gum
except for the ends (to keep fingers clean) I then applied this to my neck in a
horizontal line.
11. I continued to place the thread very close
together in two sets of five. I would advise to wait for this to fully dry
before carrying on. I carried on whilst it was still tacky, In the last image
of the 'how to' only then is it fully dry and there are no marks left.
12. I next used a very thin detail-er brush I
picked up from an art and hobby shop to draw lines vertically about an inch and
a half apart using a gel eyeliner. (I usually use essence liner for things like
this as it is very cheap, goes a long way and doesn't budge) And added random
music notes between the thread lines.
13. I drew the outline
of a tree with the same hobby brush and then coloured it in using gel liner.
Making sure the tree looked on the spooky side for a better effect.
14. I then Added in
parts of Illamasqua skin base in 001 to the black aqua colour in the shapes of
clouds, I used the same flat foundation brush as above. Then added the writing
this could be any line of anything you choose, using the same products. Next
using Illamasqua precision liner in script I placed random dots as stars on top
of the skin base.
15. I then made any
final touch ups to the neck and added bits of shading and a few reeds under the
tree. To the face I then added contouring using an NYX duo to the cheekbones,
nose, and under my bottom lip. I also added a slight bit of Illamasqua blush in
'Sophie' and a touch of mac soft and gentle to cheek bones/nose.
16. Final face before
lipstick application
17. I then moved onto
the lips and outlined them in benefit bad gal liner, I made sure these were
quite sharp to add to the spooky feeling.
18. Last but not least I
filled in the lips with an Illamasqua lipstick in 'kontrol' and blended the
liner and lipstick together.
Follow Kirsty:
~
Thanks Kirsty for creating this inspiring Halloween make-up look exclusively for the Crownbrush blog takeover.
Are you inspired?
~
Karla
X


.JPG)


